1.17.2007

Glossy (P4/Q2): Printing Compositions

Test strip 1


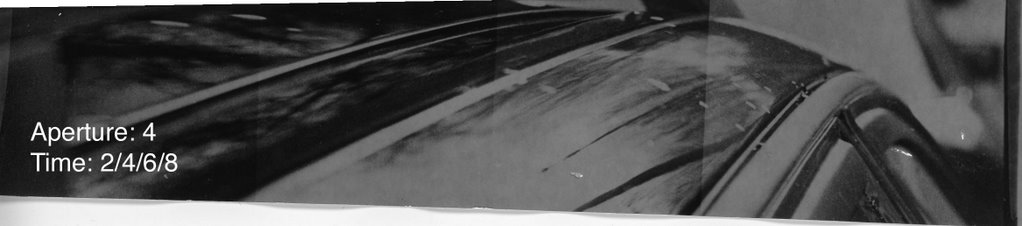
The first test strip was done at an aperture of 4 and times of 2,4,6, and 8 seconds. The image is dark, that is to say, at all of the time intervals, the areas that look like they should be white are a greyish color that only darkens overall as time increases. There are no white bits in the image, and the clarity is also really bad.

Test Strip 2, 3, 4

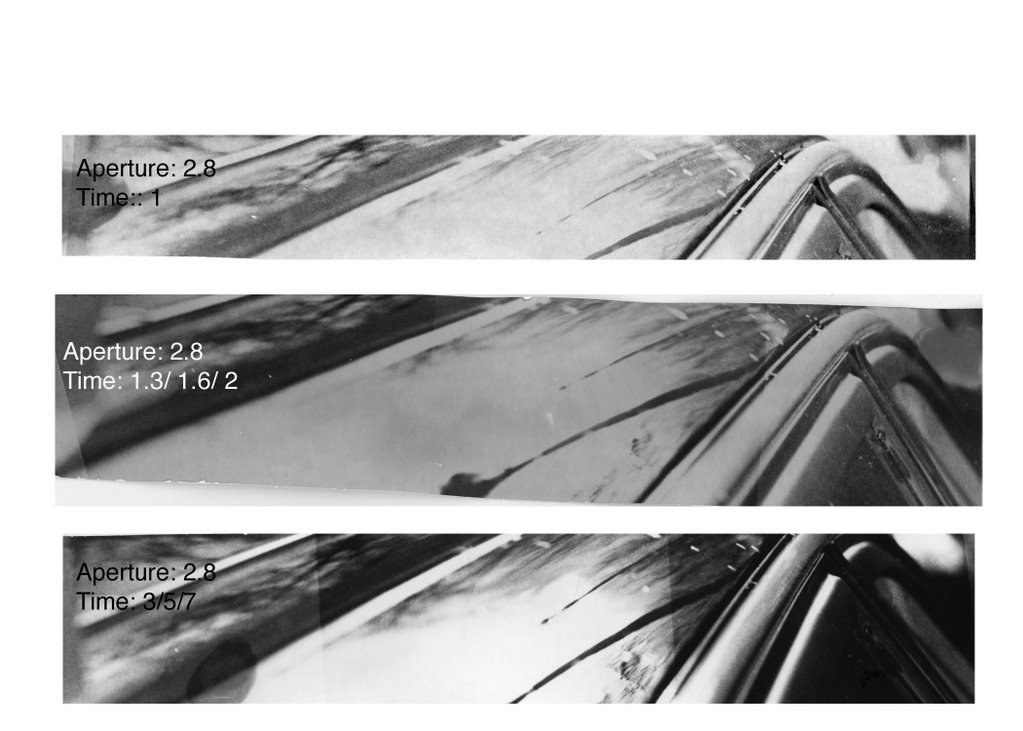
So for test strip 2, I decided to open the aperture to 2.8 and begin with a time of 1 second. This produced a print that had some white shades but lacked in black shading. It is too fair, but shows promise that with increased time, it will keep its contrast and only the dark areas will darken. I could see this in the white expanse in the lower left hand corner (out of focus) against the dark lines of where the car curves where the window meets the body of the car.

So I increased the time to 1.3, 1.6 and 2 seconds. The 3rd test strip was similar to the second, pale and washed out. But in this case it was worse, because contrast was lost as the time increased. this is shown by the fact that the white expanse that was previously, well light, is now a muddy shade of grey.

With the tip that increasing the time increases the black and whiteness of a shot, I increased the time to 3, 5, and 7 for the 4th test strip. This greatly improved the print. Now there is a large difference between the shades of black and white of the lines slanting out of the picture. The reflection of the clouds is light while the window detailing and the body of the car to the left of the reflection are quite dark. The effect of this is to make the image more balanced. Also, the black and white contrast of the image makes it more clear and visible. And now the glossiness is more perceptible as sleek black lines interrupted by reflections of clouds compose the shot.

Final Print


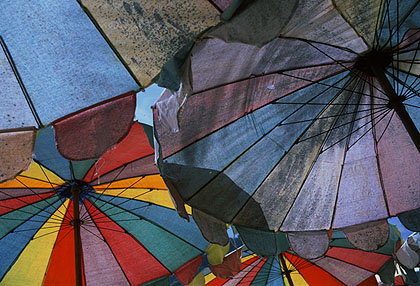
I was pleased with how the final print turned out. This one is at 7 seconds. I had tried another at 8.3 seconds just to see if increasing the time even more would make subtleties clearer (such as the cloud pattern) but it ended up not turning out better, and I chose this 7 second one. The composition is all right. There are diagonals which help to make a photo more interesting and dynamic. Also the sloping action of the top of the car and how the lines seem to run parallel to each other, yet angled out at this perspective is nice. Also the perspective is one not usually seen when you look at a car, so it is unexpected and helps to make the identity not obvious to tell. The foreground and background are out to focus which help to isolate the and highlight the lamp in the reflection as the main focus of the print.

Glossy (P4/Q2): Diary Entry

This project was a short requirement: one print that exudes the word "Gloss" in some way. We were to go to the parking lot and photograph cars, with the idea in mind of creating a compostion that showed "gloss" while keeping the exact identity of the subject hard to find out.

I focused on shooting cars with both intersing reflection and different curves and shapes of the piece of the car themself. I got a few where the bike shed was reflecting off of the hood of a car, which looked neat as the geometric slats of wood of the bike shed were warped in the surface of the car. I also got two shots that were along the top edge of the car, one with the foreground in focus and one with the middle ground in focus.

It was relatively easy to develop. The new fiber-based warmtone paper took some getting used to, but in the end worked out. I found that at the same aperture, a time of 1 second would turn out, but be grey and milky (and also take a lot of time in the developer), but a time of 7 or 8 seconds would not be too dark, would just require less developer time. In this way the print turned out more black and white. But only to a point. Since 7 seconds had improved the print so drastically, I thought that it wouldn't hurt to try the print at 8.3 seconds and try to get more detail in the foreground as well as make it more black and white. This didn't work, as the 7 second option turned out much more natural and ultimately looked better than the 8.3 second one. So to paper takes getting used to, especially cause it curls when dry, but I think that it will be good in the end for getting suficiently black and white prints.

After I was looking out for glossy parts of car in the parking lot, I found myself seeing many more things that I could have taken pictures of that were glossy, and wehre the identities would be hard to see. I made brownies that day, so I had to melt chocolate and stir with a wooden spoon and that looked especially glossy. It's just funny that once you are looking out for a certain texture or effect, you see it more in things you wouldn't expect.

Glossy (P4/Q2): Image Bank

Pierre Toutain-Dorbec "L'Enfant au Fusil

Pierre Toutain-Dorbec grew up in France, in Normandy and Paris. His family's strong artistic background led him to begin studying the arts at the age of thirteen, an all his education since then was related to the arts. At home he practiced various forms of visual arts, as well and dark-room photography. He practiced by photographing his home in Normandy and all the countryside around, and went on to study photography at a major art school in Paris.


This image from Wikipedia: Pierre Toutain-Dorbec shows how something as simple as moving to the side and above the subject increases the compositional value and in this case, the meaning and impact as well. The young soldier is not photographed head on, and seems to be on the move. This leaves diagonals in the background, which is also very simple, something that enhances the composition as well. He is belittled by the angle which looks slightly down onto him, so despite the gun, he is shown as still a child. The close-up view, with the tip of hte gun very near to the camera lens makes the whole scene menacing. We are close to this child, and his gun is nearly pointed at the viewer, threateningly close. Also the expression on the child's face is hard to read, as if part of him is showing the emotion of wanting to escape and the other part feeling suspicious and superior to this intruder.

Both the subject matter and the composition contribute to giving an emotional respose to the image: a menacing solier on the move, but still a child.

Glossy (P4/Q2): Theory Notes

Composition

Composition is important in making the image appealing as a whole. Paying attention to composition can make an otherwise simple image look dynamic and interesting. Composition is composed of several elements: the angle of the shot, the framing of the shot, where the points of interest are placed, color, and contrast.
Guidelines
The Digital Photography School recommends that you ask yourself these questions when planning a composition:

• What is the subject of this photo?
• Is there more than one subject? If so would it be better to capture them with multiple shots?
• What is the mood of the moment?
• What is going on in the background of this shot?
• Do I have time to pose my subject (and is it appropriate to do so) or do I need to shoot fast?
• Is the place I’m shooting in light or dark?
• Who else is taking photos of this subject? What angles are they taking shots from (sometimes they can give you ideas of what shots to take and sometimes they can give you hints as to what images EVERYONE is taking and inspire you to do something different)?
• Is my subject moving or still?
• Are there any patterns in the photo that I could work with?

More Specifically
These are just a few helpful hints. For more specific situations Digital Photography School and Photo Composition Articles give some more hints.

Fresh Angle
Instead of choosing the most obvious or sometimes the easiest angle to shoot from, consider trying something a bit different. Using a different angle can change the size of the subject (if you crouch down and shoot up, the subject looms over you and looks large) and the shading and contrast (when the sun hits the subject from a different angle). This can be achieved by lying or squatting on the ground or climbing on top of things or shooting from staircases to get above the subject.

this example from Photo Composition Articles shows the importance of getting below the subject. Otherwise, this image would have consisted of several colorful umbrellas situated on a beach, but filling the frame with them and crouching to get below the umbrellas for a unique perspective makes the photo more interesting.

Filling the Frame: Cropping

Cropping is important to do. When you are shooting an image, pay attention to what really belongs in the viewfinder and do not always count on cropping in the darkroom or on the computer. Instead of letting distracting things in the background compete with the subject for attention, declutter and get in close to the subject. Also sometimes filling the frame with the subject eliminates the possibility of something unwanted (like an ugly sign) entering into the frame. Other times, filling the frame gets rid of useless space that surrounds the subject and doesn't add anything interesting, and lets you focus in to detail. Oftentimes we do not need as much 'context' or setting in the background, zooming in will still allow some background and the place where the subject is can still be determined.

iStockPhoto provides an example of this that greatly increases the compositional value of the image. These strawberries look enticing and almost unidentifiable, something that this project on gloss strove to do.


Perspective and Dimensions
Instead of having landscapes and photos of people look one dimensional, try to think of ways to make the photo more alive. For example, when photographing a landscape, keep something in the foreground to give the sense of really being in that place at that time. When photographing a person, have them in action, or holding something towards you, in order to make them seem more alive. Also consider having movement or action in the image rather than standing still. Add something in the foreground or use depth of field and aperture tricks to set the subject apart from the wall.

The Digital Photography School provides an example of how adding foreground (achieved by kneeling) makes a scene more alive ad 3 dimensional than it would have looked if it were just a field of sunflowers and a line of trees all of uniform size.


To Sum Up
These are just some of the things that you can look to change to improve composition. The jist of it is to try to find a new angle or a more dynamic way to look at a scene. Usually, this is not found at eye level right when you walk up to something. As subjects and scenes cannot always be moved, you as the photographer have to move, horizontally and vertically to get a different view of something.